Taking Professional-Level Listing Photographs
Ever wonder what the key to snapping those stunning, light-filled home photos is? If you’re looking to sell or rent your home and you’re listing online, it’s likely that the first thing people will gravitate to is the pictures. By nature, people are visual creatures. Use these tips to your advantage for making your next set of home photos look amazing.
Tidy and stage. At the risk of sounding obvious, your home should be tidy before snapping photos. Make your bed, clean up the kitchen counter, hide all those exposed electronic cords. A cluttered home distracts buyers from its best features, so this is an easy way to gain points. Think about ambience too. Maybe add a nice green plant on the coffee table, some flowers on your breakfast bar or a bowl of fruit on the counter. Details matter!
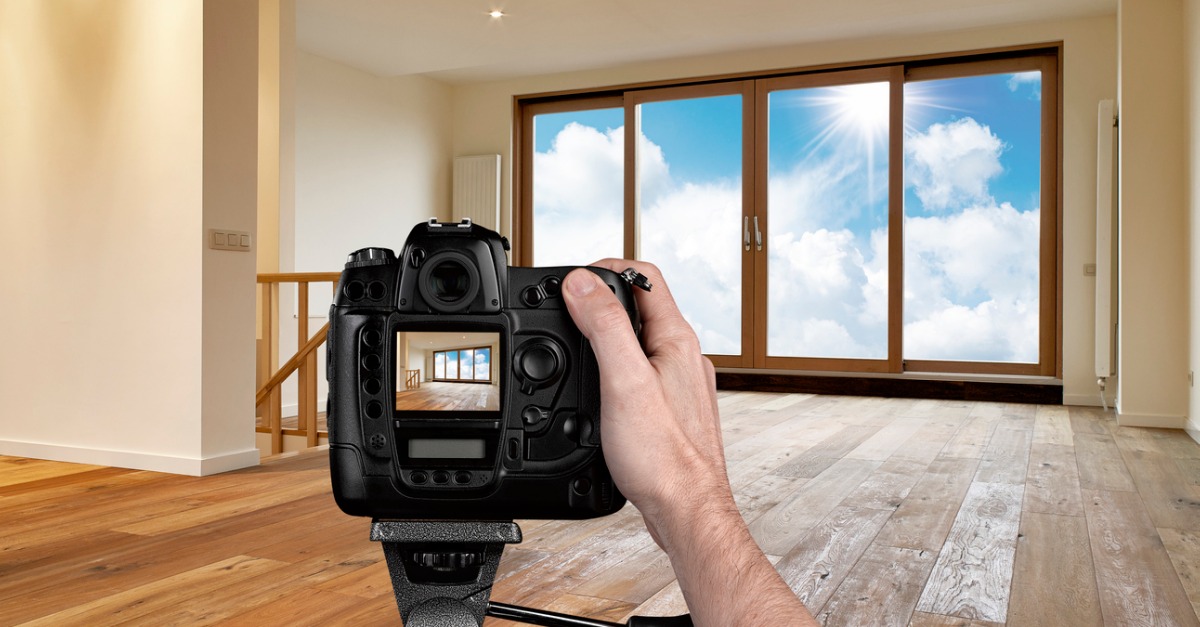
Shoot at a lower level. Though it seems intuitive to hold the camera up to your face and shoot standing, this actually isn’t the best angle for spaces, as it tends to make them look smaller or distorted. Instead, lower yourself to a kneeling position or use a lowered tripod to shoot straight.
Use a wide-angle lens. If you have the luxury of taking photos using a DSLR, a wide-angle lens can be a great way to capture more of your space. It also gives viewers a better sense of depth and layout.
Make use of natural light. Pretty much everything looks better in natural light, so make sure you take your photos during the day when light is plentiful, preferably on a sunny day. Roll up those shades and open your curtains to really let in as much light as you can. If you’re taking photos of a basement or a space that’s naturally shaded, you might have to resort to artificial lighting. In this case, try swapping in an LED bulb, which tends to give off a less garish tone.
Of course, most real estate agents will provide professional photos for your listing. But it never hurts to be prepared!
