Beginners Guide to Power Drills
Power tools can save you a lot of time and hassle. A power drill is a must-have item for all your home repair needs. From changing out hardware to big renovation projects, knowing your way around a cordless power drill is essential. Here are the basics every beginner should know.
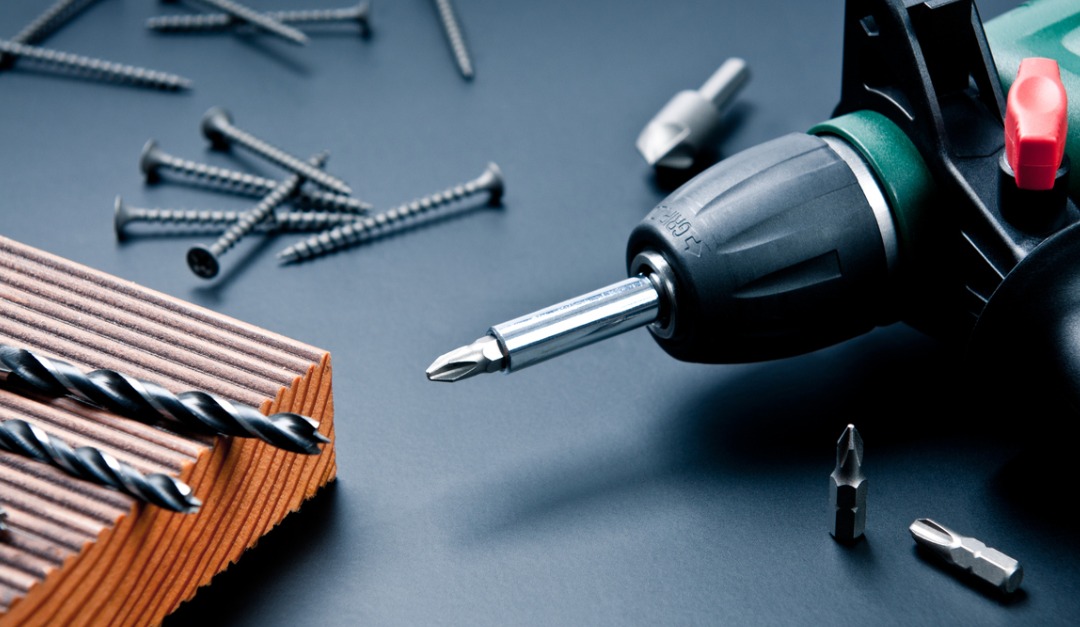
The Components
A cordless drill handles all the drilling and driving of its corded counterpart, without the hassle of a cord.
As such, it generally features:
- Battery – For those with a lithium-ion battery, you can keep one on the charger when not in use. For other types of batteries, only charge as needed.
- Chuck – Part of the drill that rotates and holds the drill bits in place.
- Clutch Torque Selector – This dial allows you to control the amount of torque.
- Forward/Reverse Switch – Use the toggle to control the direction of the drill.
- Drill Bit – Removable part of the drill that makes contact with your project. Surface. The angle of the point helps determine what type of material the bit can drill.
Basic Use Guide
- Safety first! Utilize safety goggles and any gear suggested by the drill manufacturer.
- To begin, select the correct drill bit for your project.
- Insert the bit, tighten the chuck and adjust torque for your needs.
- Clamp project to keep it from shifting.
- Consider using scrap plywood underneath to prevent splintering.
- Hold your drill vertically, perpendicular to your project.
- Start with a low speed and gradually speed up.
- To change out the drill bit, remove your power source and loosen the chuck.
Once you’ve mastered beginning repairs, the sky’s the limit. Having a cordless drill at your disposal will be incredibly handy throughout your life as a homeowner. You never know where your next project will take you.